
A kitchen renovation is one of the most significant upgrades you can make to your home. Without careful planning, it’s easy to run into delays, unexpected costs, and design regrets. That’s why we’ve put together this comprehensive step-by-step guide to help you navigate the process smoothly.
From setting a budget and choosing materials to installing cabinetry and appliances, we’ll walk you through each stage of your kitchen renovation. Whether you’re updating an outdated space or creating your dream kitchen from scratch, this checklist will help you stay on track and make informed decisions along the way.
The Steps Involved in a Kitchen Renovation Project
With careful planning, good organisation, effective communication and some help from experts, your kitchen renovation can be stress-free. Here’s what’s involved in each step of the process.
Step 1. Design aesthetics
Start by gathering inspiration for your ideal kitchen design. The first step in your kitchen renovation is defining your style and identifying must-haves for your new space.
Consider your lifestyle, your cooking habits and the style of the rest of your home. Does the kitchen need more storage or natural light? Do you want the island bench to be the focal point? Do you wish you had an open-plan layout? Thinking about what you want to achieve and what’s not working in your old kitchen will help you design a kitchen that better serves you in the long run.
PRO TIP: Use one of the many online resources available for inspiration. Sites like Houzz or Pinterest are great places to start.
Step 2. Set a budget and find professional help
Setting a realistic budget early helps you navigate the costs and avoid unexpected financial stress. Once you have an idea of how much money you want to spend, it’s worth contacting a professional kitchen designer who actually manufactures and installs the kitchen for some practical advice on the more technical aspects of your kitchen renovation, they will also be able to help with what is realistic ball park of what kitchens do cost these days based on their own customers.
While designing a kitchen yourself is possible, a professional designer can help you avoid costly mistakes and maximise space efficiency, and let’s be honest, you don’t know what you don’t know.
PRO TIP: Always allocate an extra portion of the budget for any emergencies or unexpected costs.
Step 3. Assess the space
Now that you’ve defined your style and consulted a Kitchen designer, it’s time to evaluate your existing kitchen’s functionality. For example, keeping the same layout is a cost-effective choice, while a larger budget allows for more flexibility in design.
PRO TIP: Most times a whole new plan is the best option for functionality, though if money is tight If you move the position of your appliances you’ll have to pay for extra plumbing and electrical work which is often a large added expense.
Step 4. Plan the layout
As simple as it may seem to plan your space, kitchen design professionals are worth their weight in gold. They can help you affordably achieve your new kitchen, showing you where you can cut costs and where you shouldn’t. They will take your kitchen ideas and bring them to life by presenting you with innovative ideas to ensure the functionality of your kitchen is maximised.
At Easy Living Kitchens, we offer a free design consultation that ensures you’ll be 100% satisfied with your new kitchen—we guarantee it!
PRO TIP: Divide the kitchen into different zones for efficiency—the cleaning zone, the prep zone, and the social zone.
Step 5. Choose materials and order appliances
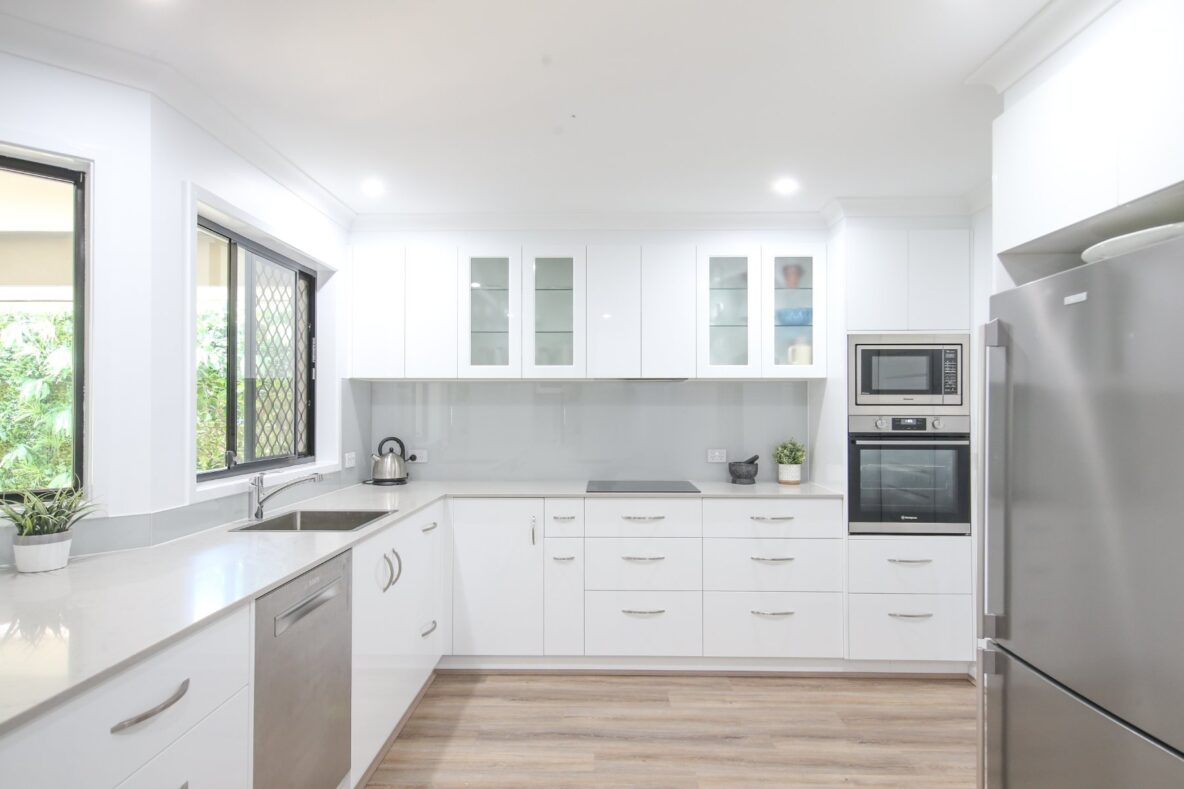
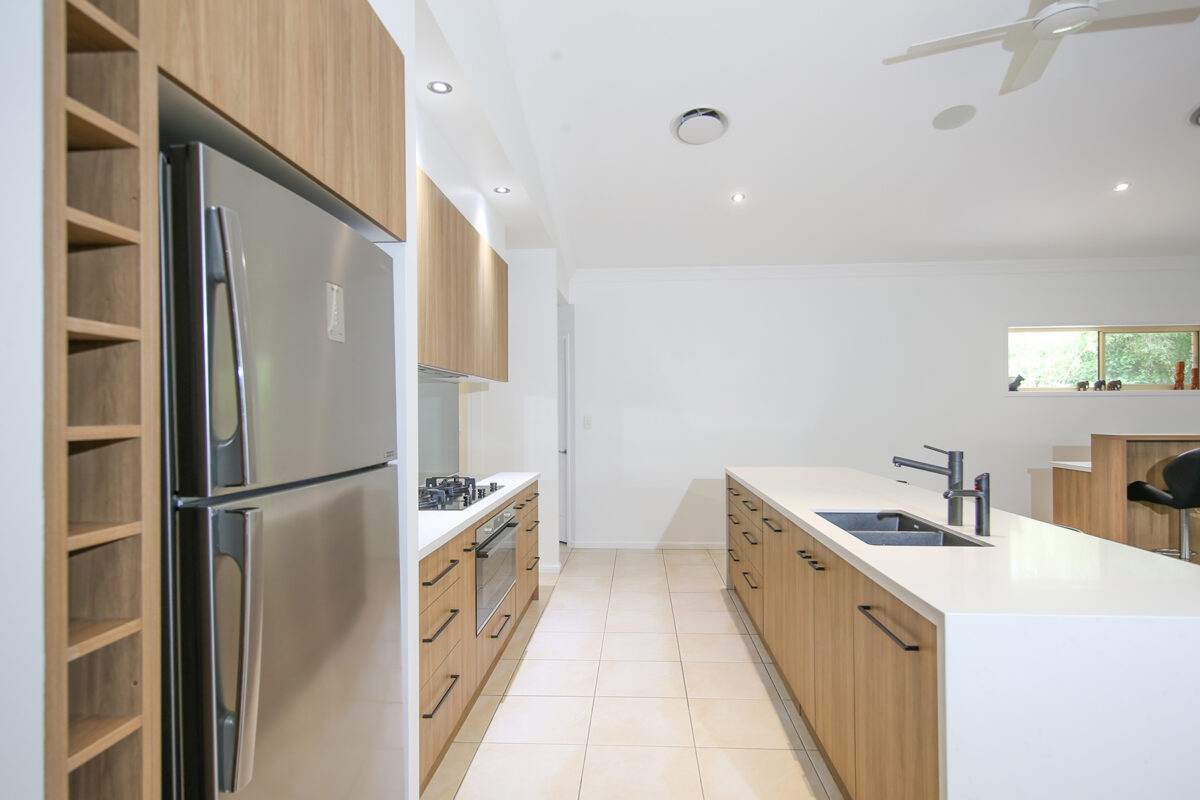
High-quality materials last longer. As kitchens can add a lot of value to your home, opt for the best you can afford. For example, custom cabinetry isn’t the cheapest option, but it’s made to fit the exact proportions of your kitchen and is more durable than an off-the-shelf flat pack.
With technology constantly evolving, researching the latest appliance features ensures you choose options that enhance functionality. To prevent costly delays, we recommend placing orders well in advance.
Easy Living Kitchens can bring the showroom to you during our free design consultation, making it easier to visualise which materials will work best in your new space.
PRO TIP: Learn more about how custom cabinets compare to IKEA or Bunnings kitchens here.
Step 6. Disconnection of services and demolition
Water, gas and electricity need to be disconnected by a qualified licensed plumbers and electricians before demolition can begin. It’s also wise to get them to check the quality of your connections while they are there so that if you require new pipes or wiring, this can be done before your renovation begins. If you plan to demolish the kitchen yourself, ensure proper asbestos precautions.
PRO TIP: Before removing your old kitchen, confirm your new cabinetry’s delivery date to avoid an extended period without a functional kitchen.
Step 7. Wall and floor installation and rough ins
If you’re planning on altering your existing layout in favour of a more efficient workflow, expect structural work like new walls can add a few weeks to your timeline. Good communication with your kitchen renovator & builder is necessary to ensure you stay on your timeline and that everything is ready for your new kitchen to be delivered.
PRO TIP: You can have your flooring laid at the end of your renovation project after the floor cabinets have gone in. Just ensure the kickboards go in afterwards so the flooring looks neat.
Step 8. Cabinetry, benchtop and splash back installation
When you’re at the point of installing cabinets, it’s a sign the kitchen renovation process is nearing the end. New cabinets will make the kitchen come together quickly, with the cabinet carcasses going in first, followed by cabinet doors.
Once the cabinet installation is complete, it’s time for benchtop installation. If you’ve selected laminate benchtops your kitchen installer will do this as they will need to be professionally installed to fit the joints properly and secure them. Other more popular materials like stone benchtops, solid surface or expensive granite or timber need to be installed by a specialist professional within their field of expertise.
PRO TIP: If you’re handling the painting yourself, you can do it before the cabinets are installed for easier access or wait until the end to avoid potential scuffs during installation and have less painting to do.
Step 9. Appliance installation
Once the splash back is installed, a licensed plumber and electrician can return to connect appliances and install powerpoints.
PRO TIP: Don’t risk ruining your new kitchen cabinets by connecting the plumbing yourself. A professional plumber has the right tools and know-how to do the job right the first time.
Step 10. Painting walls and finishing touches
Painting is the last step in a kitchen renovation so cover the cabinets, benchtops and new floors to protect them from any drips. Any final touches like skirting and final paint touch-ups should happen before you move all of your items back into the kitchen space.
Your kitchen renovation is now complete. It’s time to sit back and enjoy your new life in your dream kitchen!
PRO TIP: How long your renovation takes will vary depending on the scope of work and size of your kitchen but if you are keeping the same layout, it can be complete within a matter of weeks.
Common mistakes to avoid for a successful kitchen renovation
Steer clear of these common pitfalls to ensure a smooth renovation process.
- Not setting a realistic budget or planning for contingencies.
- Failing to weigh up different layout options and choosing the best one for the space. This is why it’s always recommended you use a professional kitchen designer to refine your kitchen layout.
- Forcing a kitchen island into a space too small to accommodate it comfortably. (A designer can help you work through alternatives).
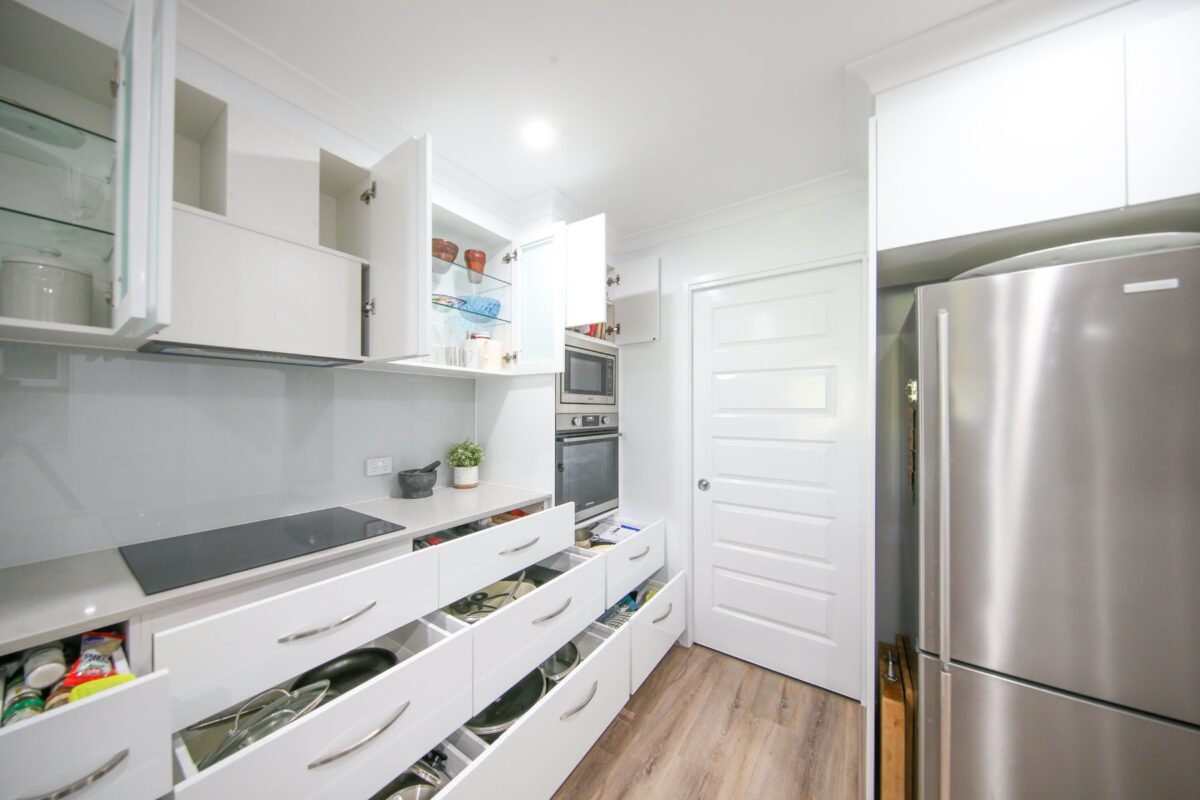
- Not providing enough storage space with too few kitchen cabinets or making them hard to access.
- Forgetting about the importance of a lighting plan that incorporates task lighting, ambient, accent and decorative lighting.
- Using off-the-shelf cabinetry that makes your kitchen look unfinished.
We make planning a kitchen renovation easy!
With help for your kitchen renovation from start to finish, call Easy Living Kitchens! With more than 40 years of experience offering custom kitchens across Brisbane, we have the knowledge and know-how to bring your dream kitchen to life. Call us today on 1300 650 681 for a free design consultation.
Frequently Asked Questions
In what order do you renovate a kitchen?
In short, to renovate a kitchen you plan, order, prep, install and paint. We’ve gone into greater detail on each step above.
How to begin a kitchen renovation?
With planning, of course! Once you know what look you are going for, focus on the layout then contact Easy Living Kitchens and we can take care of the rest.
Can I redo my kitchen for $15,000?
How much your kitchen renovation costs depends on the size of your space and the scope of work. However, if you are renovating a small kitchen and keeping the layout the same, it may be possible to have a new kitchen for $15,000. (excluding trades and appliances) At Easy Living Kitchens, a custom kitchen starts from $15,000.